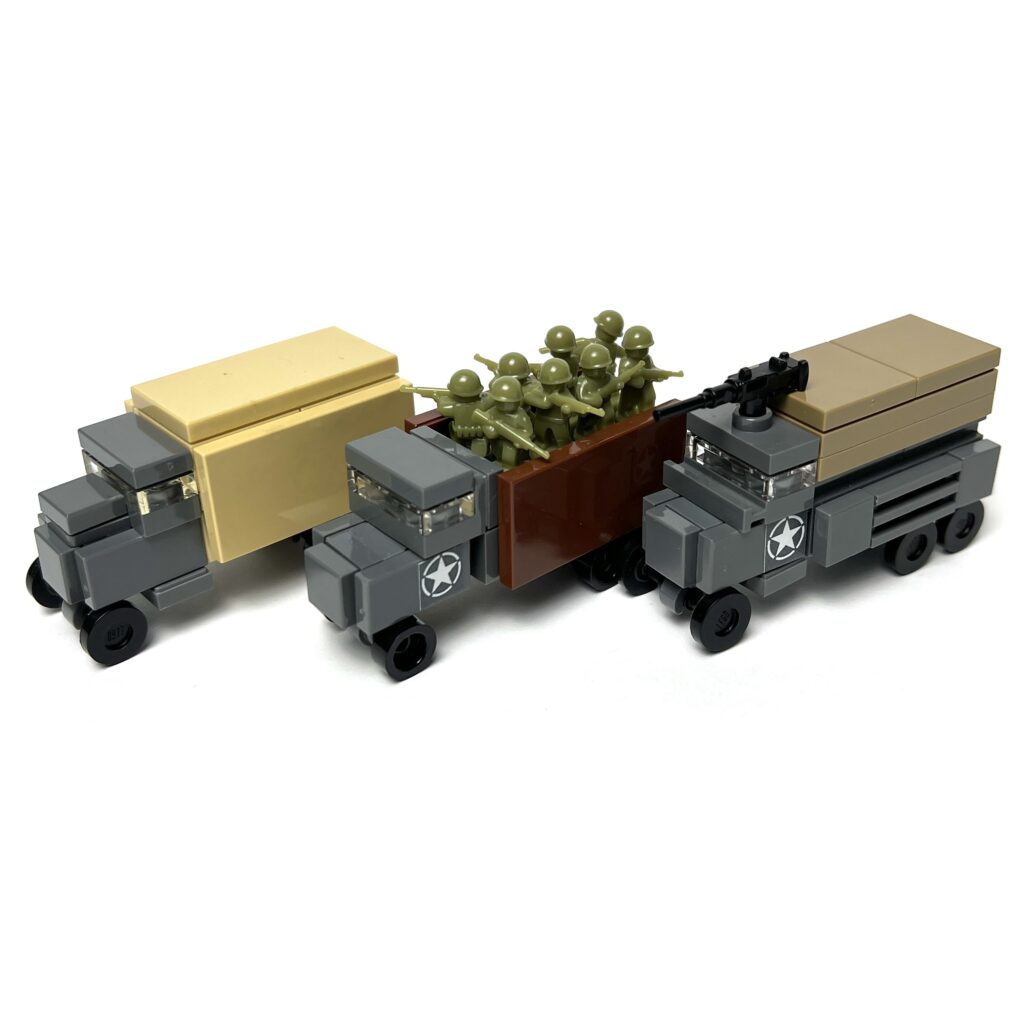
Let’s start our second post with a truck known as the GMC CCKW a.k.a “Jimmy” or “Deuce-and-a-half”, which is a companion piece to my first post about the Willys Jeep.

Jimmy was a 2 1⁄2-ton ton 6×6 cargo truck that saw service during WWII and the Korean War. This truck was an important piece of equipment as it supplied the Allied forces during their Normandy campaign and the remainder of the second world war.
A bit of trivia, the letters CCKW all mean something and was part of GMC nomenclature; “C” – designed in 1941, “C” – conventional cab, “K” – all wheel drive, “W” – dual rear axles.

These trucks had many variants including, dental operating van, dump truck, fire engine, surgical van and water purification van among many others. I just found it too interesting to not mention these.
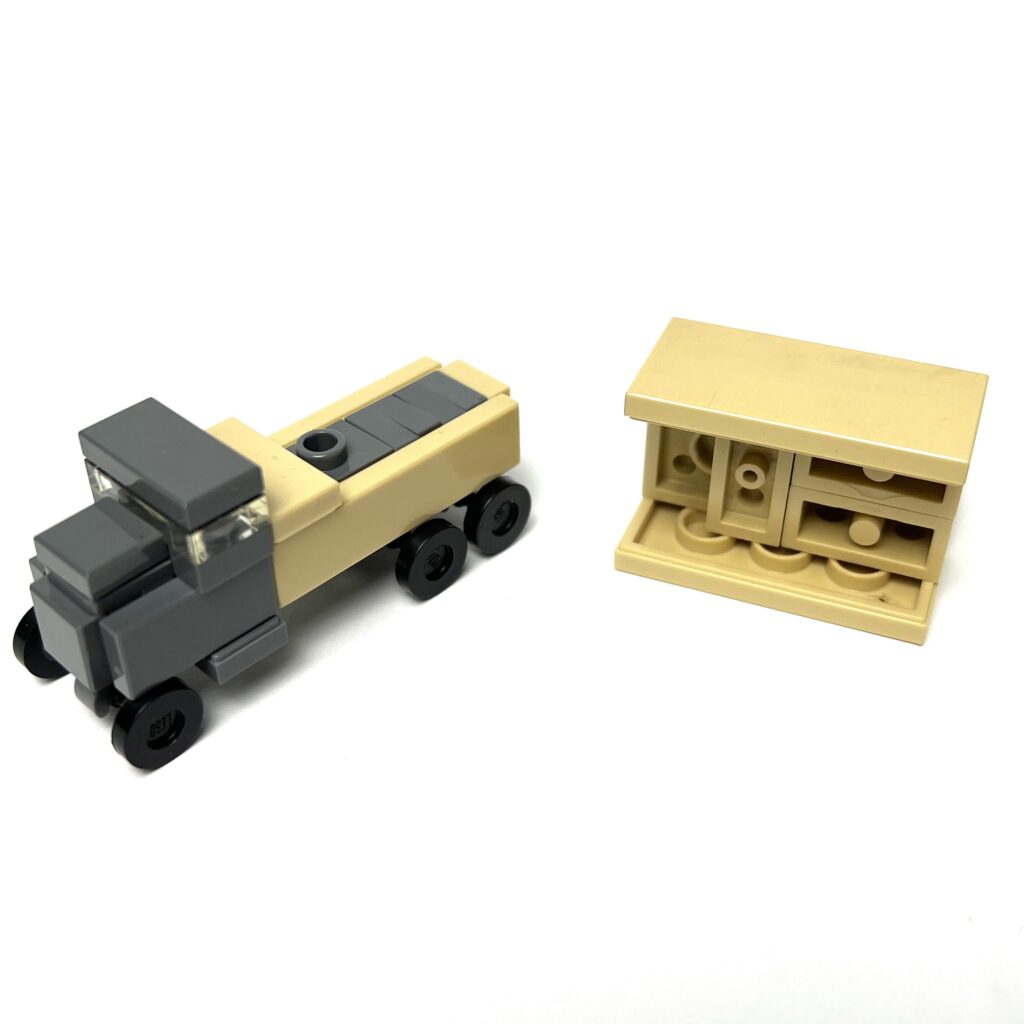
Anyway, I got to work starting with the basic variant and boy did I have to tackle some issues trying to miniaturise a truck. After trying several types of wheels and placements, I eventually went with the skateboard wheels and used clips to hold it to the body of the truck. I employed a few SNOT(studs not on top) techniques for this build as you can see.
My main issue was getting a 2-stud-wide plate to fit onto a 1 stud body and after experimenting, it fit together pretty nicely with the help of jumper plates.

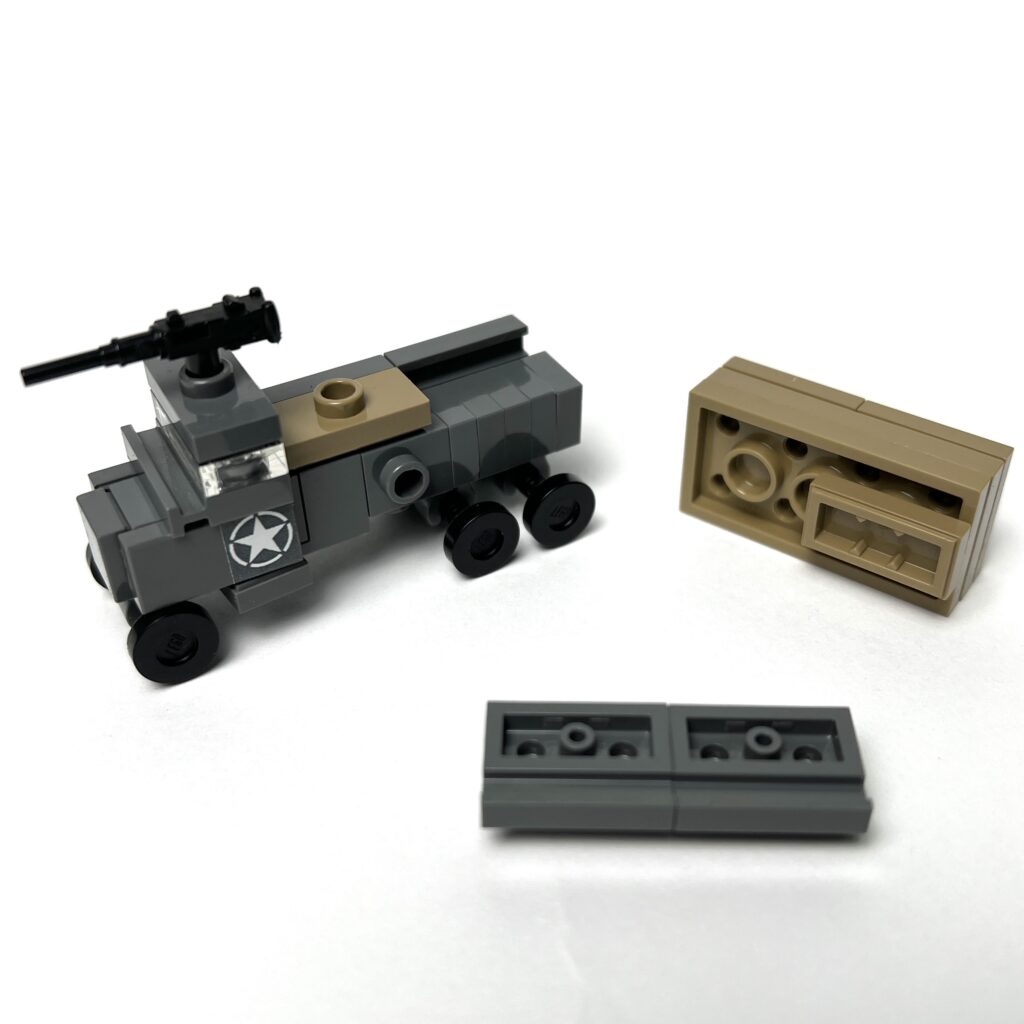
Once I was happy with the first one, I made a second version with a dark tan canvas and I’ve seen some versions with a mounted gun on top of the cabin so I added that in. You can also remove the canvas top and add a trooper there.
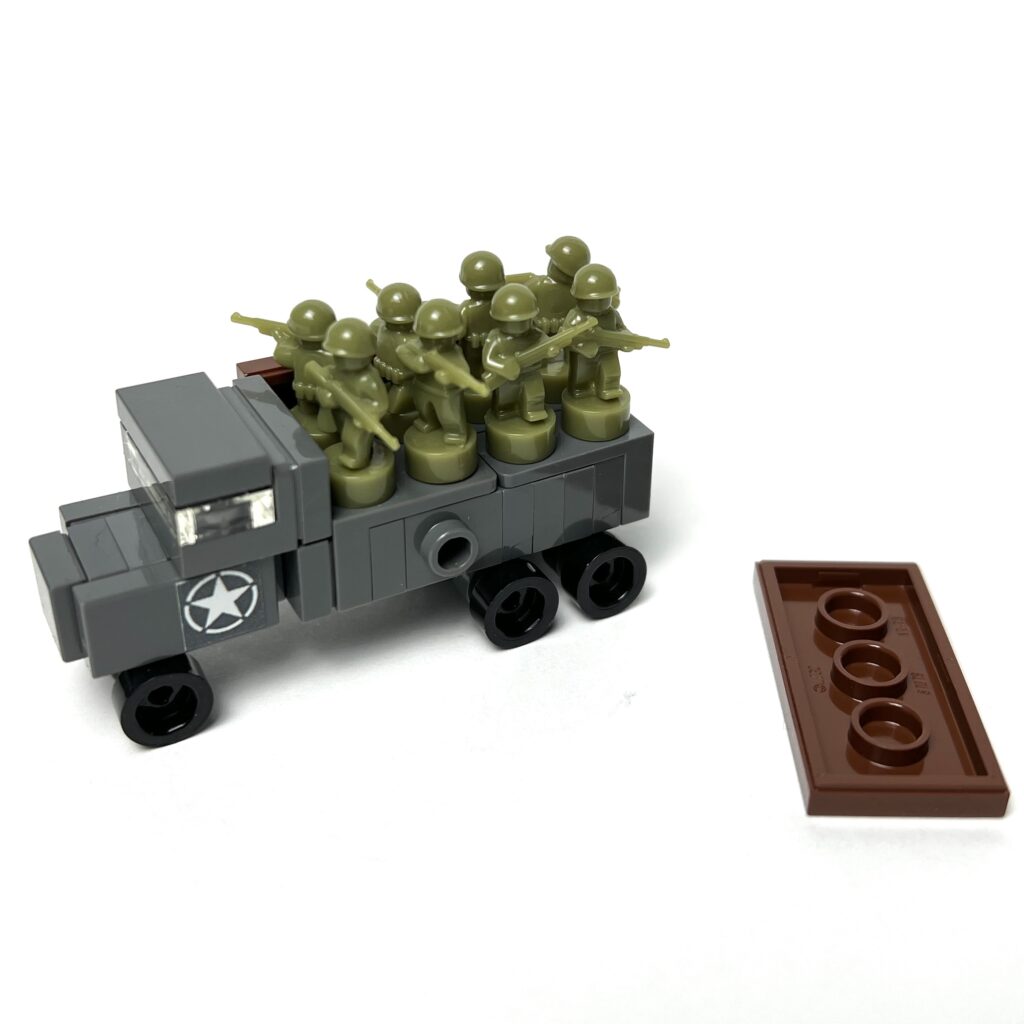
The third one, which turned out to be my favourite, is the troop carrier variant and does what it was intended to do. It can hold up to eight nano-soldiers and also uses a variety of brackets and snot bricks in order to get the extra stud coverage.

I built these trucks to be used as a game piece for Micro Brick Battle but have no idea how to integrate it yet, so much more research to do on that.
If you like this post, stay tuned and subscribe to my mailing list to get notified when a new post drops! Also, leave a comment and let me know what else you would like to see in future posts. Thanks for reading!
Here’s a Youtube tutorial if you are interested to build it:
Tip: Jumper plates are very useful to get an offset from 2 studs to 1, 3 studs to 2 etc. There are different types of jumpers but the most commonly used for me is the 1×2 jumper plate.
